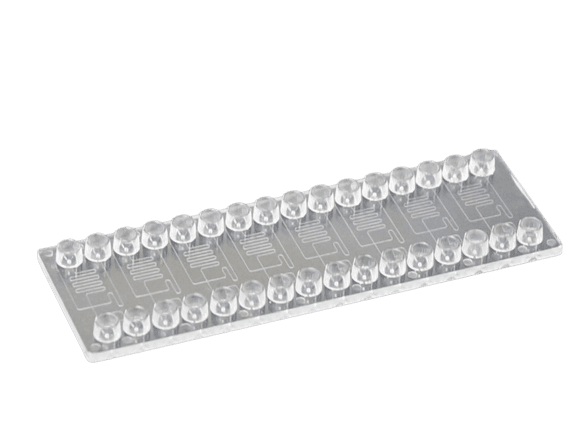
ChipShop microfluidic chips are compatible with soft-walled tubing, like silicone or Tygon commonly used with peristaltic pumps and syringe pumps due to their flexibility and ease of handling.
However, a common challenge often arises when connecting these chips to rigid tubing materials like PTFE or PEEK.
In this guide, we’ll explore practical solutions for establishing secure and efficient connections of ChipShop microfluidic chips to both soft-walled and rigid tubing.
Connect a ChipShop Chip to Soft-Walled Tubing
Procedure
- Cut the tubing to the desired length using a sharp blade or tubing cutter for a clean, even edge.
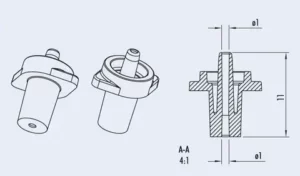
- Gently push the tubing onto the conical Luer connector. Start at the tip of the connector and slide it up until it sits snugly on the cone.
- Ensure the tubing is tightly secured around the connector without any visible gaps. A properly seated connection should not require excessive force to assemble or risk detachment during operation.
💡 Tip: To create a secure and leak-free connection, it’s important to select a tubing with the correct inner diameter (ID). The tubing should be large enough, with an ID of at least 0.5 mm, to slide onto the connector and fit over the Luer. The tubing should also be small enough, smaller than 1 mm typically, to ensure a tight fit and prevent leakage.
Connect a ChipShop Chip to Rigid Tubing
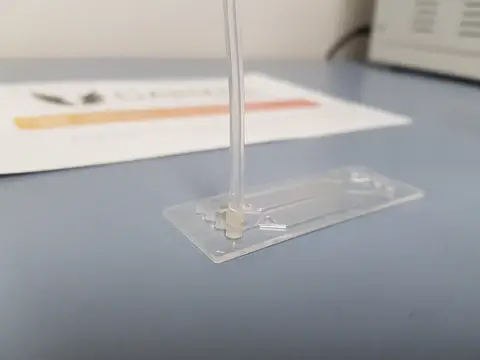
ChipShop microfluidic chips are designed for soft-walled tubing, but connecting rigid tubing such as PTFE or PEEK is also possible with a few simple techniques. Here are two effective methods to establish a secure connection.
Using a Soft-Walled Tubing Sleeve
One straightforward approach is to use a short sleeve of soft-walled tubing as an intermediary between the rigid tubing and the ChipShop chip. To procede:
- Cut a 2-3 cm piece of soft-walled tubing.
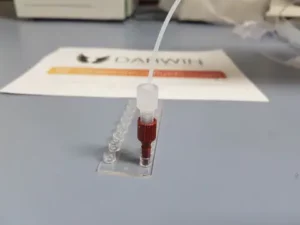
- Slide one end of the soft-walled tubing onto the ChipShop chip connector.
- Insert the rigid tubing into the other end of the soft-walled tubing. Ensure the fit is secure without leaving gaps that could cause leaks.
💡 Tip: Make sure the sleeve has an inner diameter (ID) between 0.5 mm and 1 mm to fit snugly onto the ChipShop Luer or mini Luer connector. Moreover, the ID of the sleeve should be smaller than the outer diameter (OD) of the rigid tubing to ensure a tight grip.

Using Adapters
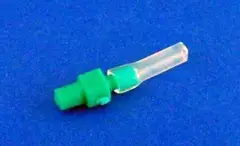
For a more robust and precise connection, you can use adapters to interface rigid tubing with the ChipShop chip.
- Cut the rigid tubing (e.g. herein, 1/16″ OD PTFE) straight using a tubing cutter for a clean edge.
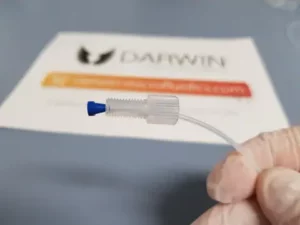
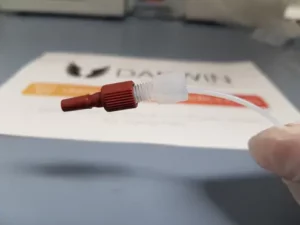
- Attach the tubing to a fitting and ferrule. Make sure there is no excess tubing protruding after the ferrule for an optimal seal.
- Attach the fitting to a Female 1/4″-28 to Luer Adapter.
- For Luer ports: Connect the adapter directly to the chip.
- For mini Luer ports: Use a mini Luer to Luer adapter before attaching the assembly to the chip.
💡 Tip: The Mini Luer ports are smaller than standard Luer ports, so adapters may take up extra space. As a result, it might not be possible to use all the ports simultaneously on your chip. Plan your experiment accordingly to ensure you can still run it effectively with fewer ports.
Conclusion
Connecting tubing to ChipShop microfluidic chips can seem challenging, but with the right approach and tools, it becomes a straightforward process. Whether you’re using soft-walled tubing for its flexibility or rigid tubing for its durability and precision, understanding the proper techniques ensures secure and reliable connections.
Stay tuned for more tips and insights on optimizing your microfluidic systems and advancing your research 🔬. Until then, remember: tubing tight, flow’s just right!
📧 If you have any questions or feedback, please feel free to contact us at contact@darwin-microfluidics.com.
