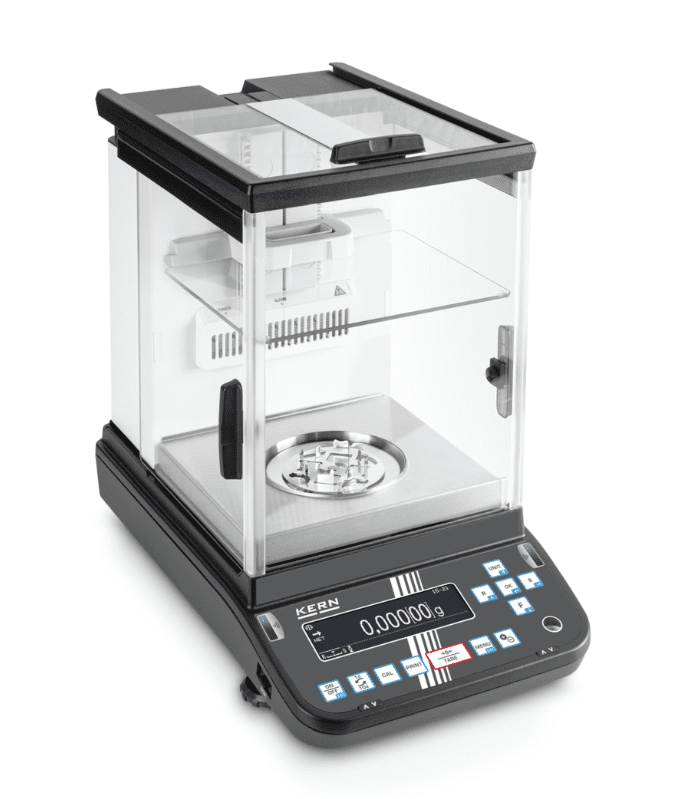
An analytical balance is a highly sensitive instrument used in laboratories for precise weight measurements. To ensure accurate and consistent results, it must be properly leveled before use. Even a slight tilt can affect measurements, leading to errors in scientific experiments, pharmaceutical formulations, or industrial processes.
In this guide, the necessary steps to properly level an analytical balance are explained.
What Does It Mean to Level a Balance?
Leveling a balance means adjusting its position so that it sits perfectly horizontal, with no tilt in any direction. This ensures that the internal mechanisms can function correctly and provide accurate weight readings. If a balance is not level, even small inclines can lead to significant measurement errors, especially with sensitive instruments like analytical balances.
What You Need to Level an Analytical Balance
Before leveling an analytical balance, it’s important to ensure you have the right setup and environment. Here’s what you’ll need:
- A stable surface: Ensure the balance is placed on a vibration-free, stable workbench.
- A controlled environment: Avoid placing the balance near doors, windows, air conditioning vents, or other sources of air movement, as even slight drafts, vibrations, or temperature fluctuations can affect precision.
- A clean workspace: Make sure the balance and the surrounding area are free of dust, residues, or any substances that could interfere with accurate readings.
- Built-in bubble level: Most analytical balances come with a built-in spirit level used to check if the instrument is level.
- Leveling feet (integrated): These adjustable feet are part of the balance and are used to make fine adjustments during leveling.

Steps for Properly Leveling an Analytical Balance
Once your balance is properly set up, follow the steps below to ensure it is correctly leveled for accurate measurements.
- Place the balance on a stable surface.
- Observe the bubble level: The goal is to center the bubble within the marked circle.
- Adjust the leveling feet to center the bubble:
- If the bubble is off-center, determine which side is higher or lower.
- Rotate the leveling feet clockwise to lower that side.
- Rotate the feet counterclockwise to raise the side.
- Make small adjustments and observe how the bubble moves.
- Continue adjusting until the bubble is centered.
- Verify the balance is properly leveled: After making adjustments, check again to ensure the bubble is perfectly centered. If necessary, repeat minor adjustments until the balance is leveled.

🚨 Common Mistakes to Avoid
- Placing the balance on an unstable or sloped surface: This can cause fluctuations in readings.
- Ignoring environmental factors: Avoid placing the balance near open windows, air vents, or vibrations from nearby equipment.
- Not checking the bubble level regularly: Leveling should be checked before every use for precise results, especially if the balance was moved.
- Unevenly adjusting the feet: Always make small, even adjustments to avoid overcompensating.
💡 Conclusion
Properly leveling an analytical balance is essential for accurate and reliable measurements. By following these steps and regularly checking and adjusting the level, you can avoid errors and ensure consistent results.
Stay tuned for more insights into analytical balances, weighing techniques, and practical tips for precise measurements. Until then, ditch the spam, weigh the right gram ⚖️!
📧 If you have any questions or feedback, please feel free to contact us at contact@darwin-microfluidics.com.